Whether you’re spending Valentine’s Day with a partner, friends or family, these desserts offer a fun way to celebrate the holiday and bring joy to those you care about.
Lava Cakes
When I was a kid my grandma used to take me to Chilli’s as a treat. I was never really interested in the food, but I was interested in the “Molten Chocolate Cake” that was served there.
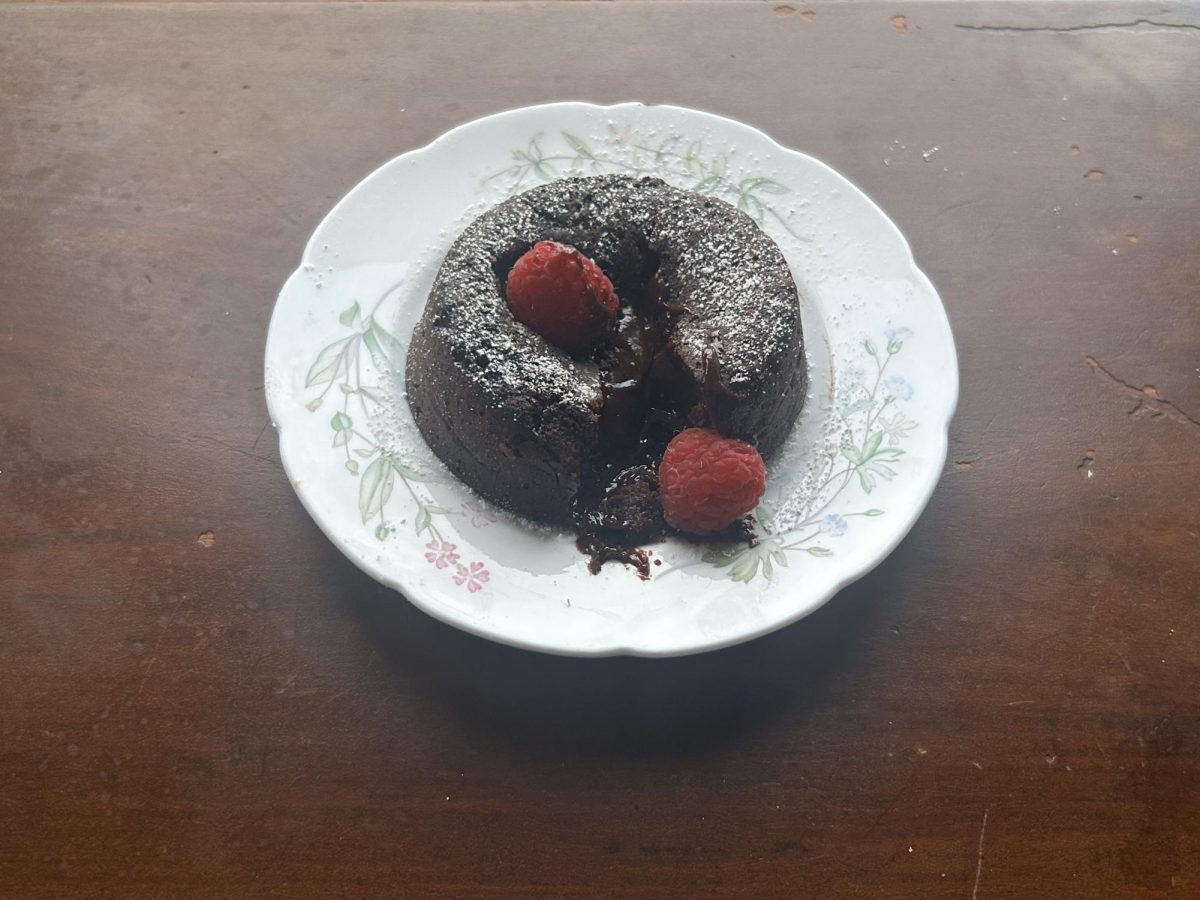
Although I haven’t been to Chili’s in a few years, I still love lava cakes. They are a warm, rich and chocolatey dessert to share with your loved ones. However, they can be a little difficult to master.
There are two crucial elements of producing well-made lava cakes. The first is that your ramekins need to be extremely well greased or else flipping the cake will be a mess.
The second is to not overbake the lava cakes. Unlike many other desserts, when a toothpick is inserted into the cake, it should not be clean, it should just have a light coating of chocolate. It is safe to eat even though the center is liquid because the batter has reached a temperature high enough to kill bacteria.
Different form the average cake recipe, the flour content of lava cakes are extremely low which helps the structure be light and fluffy.
So, if you don’t feel like taking a trip down to Chilli’s, I highly recommend making these lava cakes and serving them with a scoop of ice cream and some chocolate syrup.
Ingredients
6 ounces semi-sweet chocolate- Coarsely Chopped
1/2 cup unsalted butter
1/4 cup all-purpose flour
1/2 cup confectioners’ sugar
1/8 teaspoon salt
2 large eggs
2 large egg yolks
Instructions
1. Preheat Oven to 425 F
2. Grease six ramekins with butter and cover them with cocoa powder.
3. Add both the butter and chocolate in a medium bowl, then microwave at for 10-second intervals, stirring each interval until the mixture is smooth.
4. In a separate bowl mix flour, powdered sugar, and salt together.
5. In another bowl mix the egg yolks and whole eggs together.
6. Add the eggs and flour mixture into the chocolate then mix together until no clumps remain, batter will be slightly thick.
7. Evenly pour the batter in the ramekins and place them on a baking sheet.
8. Bake immediately before serving for 12-14 minutes. Toothpick should not come out clean, but the sides of the cake should bounce back when touched.
9. Let cool for one minute before placing a plate on top of the ramekin and flipping over the cake. Serve immediately!
Truffles
Making chocolates is an extremely difficult task. Special molds, tempered chocolate, and an education in Chocolatiering are all necessary to succeed. But, chocolates are also a great gift to make someone’s Valentine’s Day special.
So, my solution is truffles. These treats are easy to make but they produce wonderful results and are a great way to show someone how much they mean to you. Not to mention that chocolates and truffles are one and the same, they’re both round delicious sweets.
To make truffles, all you need to do is make a ganache which is usually equal parts chocolate and heavy cream. It’s important to keep in mind that the ratios can be altered depending on the desired thickness of the ganache.
One of my main tips when making ganache is to make sure that the chocolate is cool. Not room temperature, but cold. It is extremely hard to roll out the chocolate balls if the mixture melts in your hands.
When making truffles, I experimented with toppings like sugar sprinkles, cocoa powder, and chocolate sprinkles. Although they all provide a nice sugary addition, I recommend only using chocolate sprinkles or something more substantial like nuts to coat your truffles. The sugar sprinkles made the truffles too crunchy for my taste and the cocoa powder didn’t last in the fridge as the moisture from the truffles absorbed it.
Ultimately, whether you choose to use chocolate sprinkles or cocoa powder, making truffles is a sweet way to spread love during Valentine’s Day.
Ingredients
4oz of Semi-Sweet chocolate
2/3 cup heavy cream
1 Tablespoon unsalted butter, softened to room temperature
1/2 teaspoon pure vanilla extract
toppings: unsweetened cocoa powder, sprinkles, crushed nuts, melted chocolate
Instructions
1. Place the chocolate and butter in a medium bowl.
2. Heat heavy cream in a small saucepan until simmering, then pour over chocolate and butter. Let the mixture sit for 5 minutes.
3. Mix in vanilla extract and make sure the chocolate mixture has no clumps.
4. Place plastic wrap over the bowl directly touching the mixture and let chill for two hours, or until cool.
5. Once cool, form two teaspoon-sized balls and roll to form a sphere. Roll truffles in toppings and serve at room temperature.
Linzer Cookies
Originally an Austrian treat, Linzer cookies eventually made their way to Germany, and also to my very German grandmother. Whenever she made these cookies, I was always by her side to help.
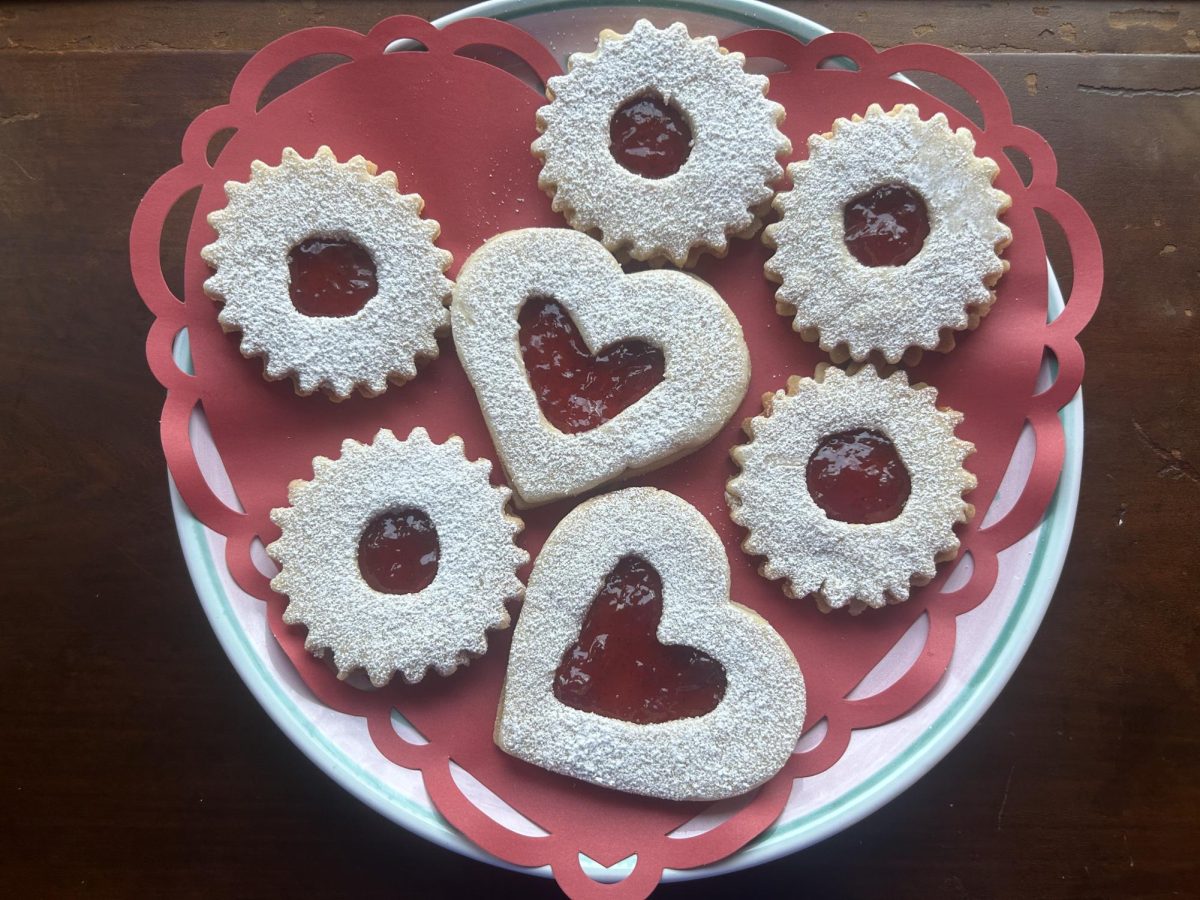
Linzer cookies are a type of sandwich cookie that has jam in the middle. They have an almond flour base, with a texture similar to shortbread. Though I’ve only made them a few times, they are always popular with my family.
Making Linzer cookies is a delightful experience, especially since the recipe isn’t too complicated. The most important tip is to make the dough the right consistency, it only needs to be about one inch in thickness. Additionally, make sure to put enough jam in the center so the cookies aren’t too dry.
Ingredients
2 cups all-purpose flour
1 cup almond flour
3/4 teaspoon fine sea salt
1 cup unsalted butter, room temperature
2/3 cup granulated white sugar
2 teaspoons vanilla extract
1/2 teaspoon almond extract (optional)
1 large egg
Zest of 1 lemon or orange
Powdered sugar, for dusting
Any flavor of jam, for filling
Instructions
1. Combine the all-purpose flour, almond flour and salt in a medium mixing bowl, then stir until evenly combined.
2. Add the butter and sugar to the bowl of a stand mixer and beat for two minutes until the mixture is light and fluffy.
3. Add the vanilla extract, almond extract, egg and zest to the butter mixture and beat on low speed for 30 seconds until combined.
4. Add the dry ingredient mixture and beat on low speed for 1 minute or so until combined. Do not overbeat.
5. Shape the dough into a disk about 1 inch thick, wrap tightly with plastic wrap and refrigerate for 30 to 60 minutes or until chilled.
6. Preheat the oven to 350 F and line a baking sheet with parchment paper.
7. Place dough on a floured surface and cut your cookie dough, half into solid cookies and half into cookies with a window in the center. Make sure the numbers are even as the solid and windowed cookies will be paired together. Re-roll out the dough and cut it into shapes until no batter remains.
8. Chill the dough again for 10 minutes.
9. Bake the cookies for 11 to 13 minutes or until lightly golden.
10. Remove the baking sheet from the oven and let the cookies cool for a few minutes. Then move the cookies to a wire rack until they have cooled completely to room temperature.
11. Dust the cookies with a window with powdered sugar. Place a dollop of jam in the solid cookie then place the cookie with a window on top.


